A wedding album from a photographer captures the polished, professional version of your day. A scrapbook captures everything else: the ticket stub from the flight to your honeymoon, the pressed flower from your bouquet, the handwritten card your grandmother gave you, the napkin your partner doodled on during the reception speeches. It's messier, more personal, and infinitely more likely to make you cry happily flipping through it twenty years from now than a formally bound coffee-table album ever will.
Scrapbooking a wedding isn't complicated, but it does take some planning, mostly because the best material for it starts arriving well before the wedding day itself and keeps arriving for months afterward. Here's how to actually pull one together, rather than starting with good intentions and a blank album that stays blank for three years.
What You'll Need to Get Started
- A scrapbook album in a size and colour that suits your wedding's theme — 12x12 inch is the standard scrapbooking size and gives you room to work with larger photos and mementos, while a smaller 8x8 inch album feels more like a keepsake book.
- Refill pages, ideally acid-free to protect photographs from yellowing over time.
- A sharp pair of scrapbooking scissors, plus a paper trimmer for straight edges.
- Photo-safe adhesive — double-sided tape runners, photo corners, or acid-free glue sticks all work; avoid regular household glue, which can warp paper and damage photos over time.
- Cardstock or patterned paper that complements your wedding's colour palette.
- Fine-tipped pens for captions and handwritten notes, since your own handwriting adds a layer of personality no printed caption can match.
- A flat, dedicated workspace and a storage box to keep loose materials organised until you're ready to use them.
Where to Find Supplies in South Africa
Specialist scrapbooking and craft stores stock the widest range of albums, papers, and embellishments, and staff at these stores are usually happy to help first-timers figure out what they actually need versus what's simply nice to have. Large craft and stationery retailers also carry basic scrapbooking ranges, which is often enough if you're going for a simpler, cleaner look rather than an elaborately decorated one. Online craft suppliers are worth checking too, particularly for speciality items like wedding-themed die cuts, ribbon, or vellum overlays that smaller physical stores might not stock. If your wedding has a distinct colour scheme, buying your cardstock and embellishments to match before the big day means you're not scrambling to find the right shade of blush pink six months later when the mood has moved on.
Start Collecting Before the Wedding, Not After
The single biggest scrapbooking mistake is treating it as a post-wedding project and only then realising how much material got thrown away in the chaos of the day itself. Start a dedicated box or envelope the moment you get engaged, and drop things into it as they arrive: your save-the-date, your engagement photos, swatches of fabric from dress shopping, the invitation proof before it went to print, a printed copy of your first Pinterest board if that's where the whole thing started. On the day itself, ask a bridesmaid or family member to collect a handful of small physical items you'd otherwise lose track of — a napkin from the venue, the order of service, a pressed flower from your bouquet, a piece of ribbon from a gift.
Ask your photographer, early on, whether you can get a handful of printed photos in addition to the digital gallery, specifically for scrapbooking. Many photographers are happy to include a small print package, and having physical photos on hand from the start makes the whole project far less daunting than waiting to print selections later.
What to Actually Include
A good wedding scrapbook mixes big moments with small details, since it's the small details that tend to fade from memory first. Consider including:
- The proposal story, written out in your own words, alongside a photo from that day if you have one.
- Save-the-date and invitation, plus the RSVP cards if you kept any.
- Engagement photos and any behind-the-scenes shots from dress fittings or venue visits.
- The order of service or wedding program.
- Ceremony and reception photos, mixed with a handful of candid, imperfect shots rather than only the polished professional ones.
- A pressed flower from the bouquet, a swatch of fabric from the dress or suit, or a piece of ribbon from the decor.
- Guest messages, especially from a guest book if you had one, or notes and cards received around the wedding.
- Honeymoon mementos — boarding passes, a hotel key card, ticket stubs, a postcard.
- Handwritten captions describing what a photo doesn't show: how you were actually feeling, an inside joke from the day, a detail only you would remember.
Layout Tips That Make a Real Difference
Resist the urge to fill every centimetre of every page. White space, or coloured cardstock space, gives a photo room to breathe and makes the page feel intentional rather than cluttered. Vary your layouts across the album — some pages built around one large photo with a handful of small details around it, others with a grid of smaller photos telling a sequence of moments. Group related items together rather than scattering them chronologically only; a page dedicated entirely to the getting-ready morning, for instance, feels more cohesive than mixing those photos in with ceremony shots.
Handwritten captions matter more than most first-time scrapbookers expect. A photo alone shows what happened; a short caption in your own handwriting shows how it felt. Keep captions short and specific rather than generic — "the moment before the doors opened and I couldn't stop shaking" tells a far better story than "getting ready."
Making It a Shared Project
Scrapbooking doesn't have to be a solo project completed in one long weekend. Some couples work on it together in short sessions over several months, which turns it into a way of reliving the wedding together rather than a chore to finish. Others turn it into a small gathering, inviting bridesmaids or close family over for an afternoon to help sort photos and glue in pages, especially useful if you're the kind of person who finds a blank scrapbook intimidating to start alone. If time is genuinely limited, even completing a handful of pages properly, focused on the moments that matter most, beats an ambitious plan that never gets finished.
Preserving It Properly
A scrapbook is only as good as its condition twenty years from now, so a few preservation basics are worth following from the start. Use acid-free paper and adhesive wherever possible, since standard paper and glue can yellow and degrade photos over time. Store the finished album flat or upright in a cool, dry place away from direct sunlight, which fades both photos and coloured paper faster than most people expect. If you're using an album with a spine rather than a ring-bound one, avoid overfilling it beyond its intended capacity, which puts strain on the binding.
Digital Alternatives, and Why Physical Still Wins
Digital scrapbooking apps and photo book services have become popular, and they're a reasonable option if the idea of physical crafting feels overwhelming or you simply don't have the time. They produce a clean, professional-looking result with far less effort. But there's something a purely digital version can't replicate: the texture of a pressed flower under your fingers, the weight of real cardstock, your own handwriting captured in ink rather than a font. If you have even a little time to spare, a physical scrapbook, however imperfect the corners or slightly crooked the photos, tends to mean more precisely because it's handmade.
Involving Family in the Storytelling
One layer many couples miss is reaching further back than their own wedding day. Ask parents or grandparents if they have photos from their own weddings, and consider dedicating a page or two to a side-by-side comparison across generations — your grandmother's wedding dress next to yours, or her bouquet style next to your own. It adds depth to the scrapbook that no amount of your own wedding-day material can replicate, and it's often a meaningful gift to older family members to be asked. If any family heirlooms were worn or used on the day, a lace handkerchief, a piece of jewellery passed down, a cufflink that belonged to a grandfather, note the story behind it directly on the page rather than trusting memory to hold onto the details indefinitely.
A Simple Timeline If You're Starting From Nothing
If the whole project feels overwhelming, break it into stages rather than trying to build the entire album at once. In the first month after the wedding, while memories are freshest, write out the story of the day in your own words and gather every physical item you collected. Over the following two to three months, sort your photographer's gallery and choose a working set of prints, mixing formal shots with candids. From there, build the album in short sessions, a handful of pages at a time, rather than committing to finishing the whole thing in one sitting. Most scrapbooks that get abandoned die at the "I need a full free weekend to do this properly" stage. Most that get finished happen in twenty-minute increments, spread out over months, with no pressure to get every page perfect the first time.
Start Small, Finish Something
The scrapbooks that actually get finished are rarely the most elaborate ones. They're the ones where the couple started with a simple plan, collected material consistently rather than in one overwhelming rush, and gave themselves permission for it to look handmade rather than professionally designed. Years from now, it won't be the perfectly aligned corners you remember. It'll be finding, tucked into a page you'd forgotten about, the exact napkin from the table where you sat during your first dance.
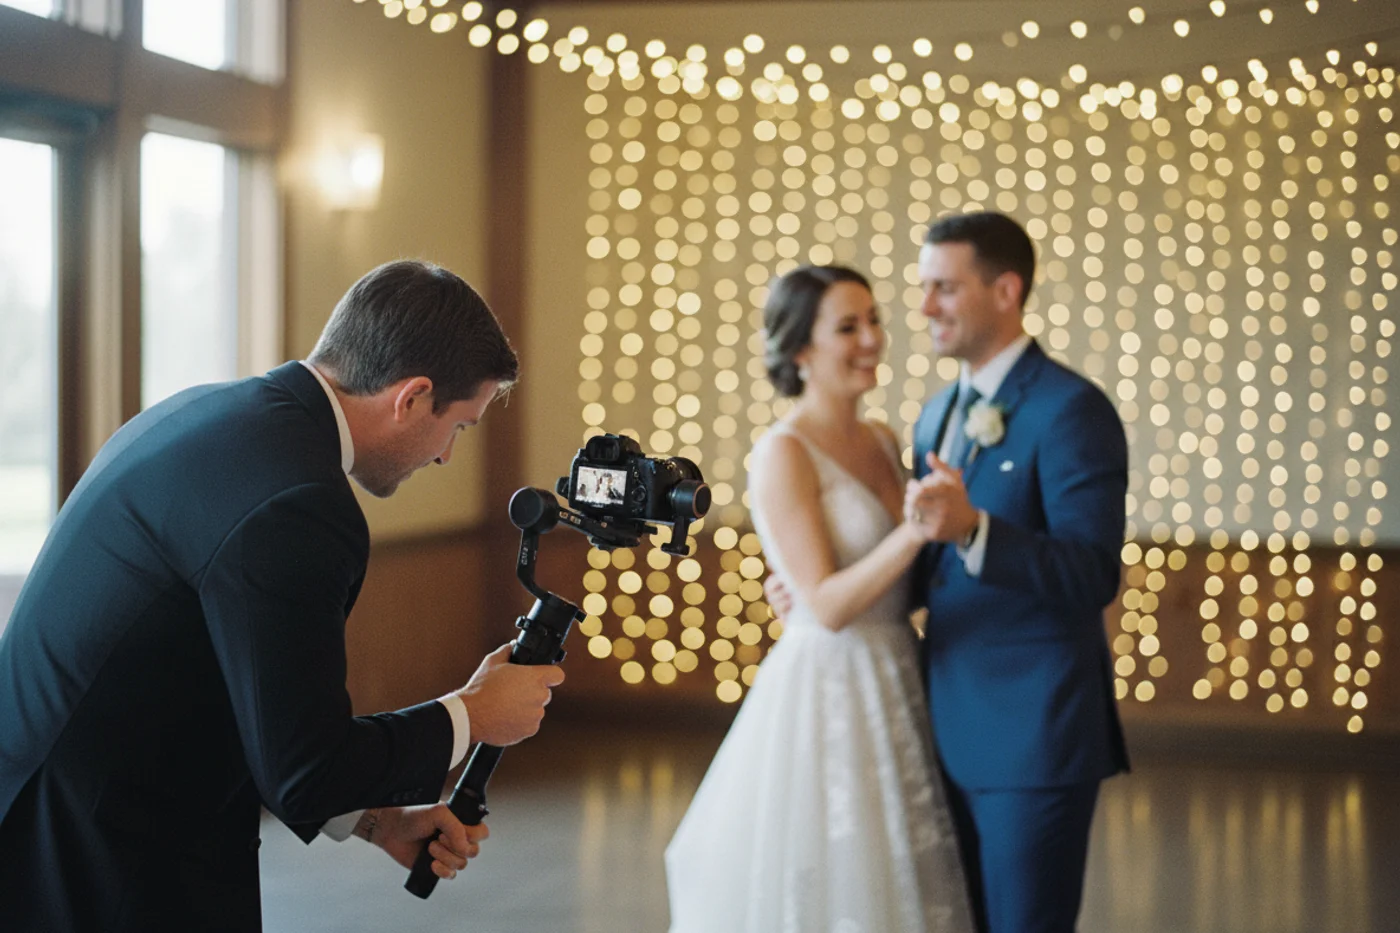
Questions to Ask Your Wedding Videographer Before You Book
